Are you a senior critical care doctor considering a future in retrieval medicine?
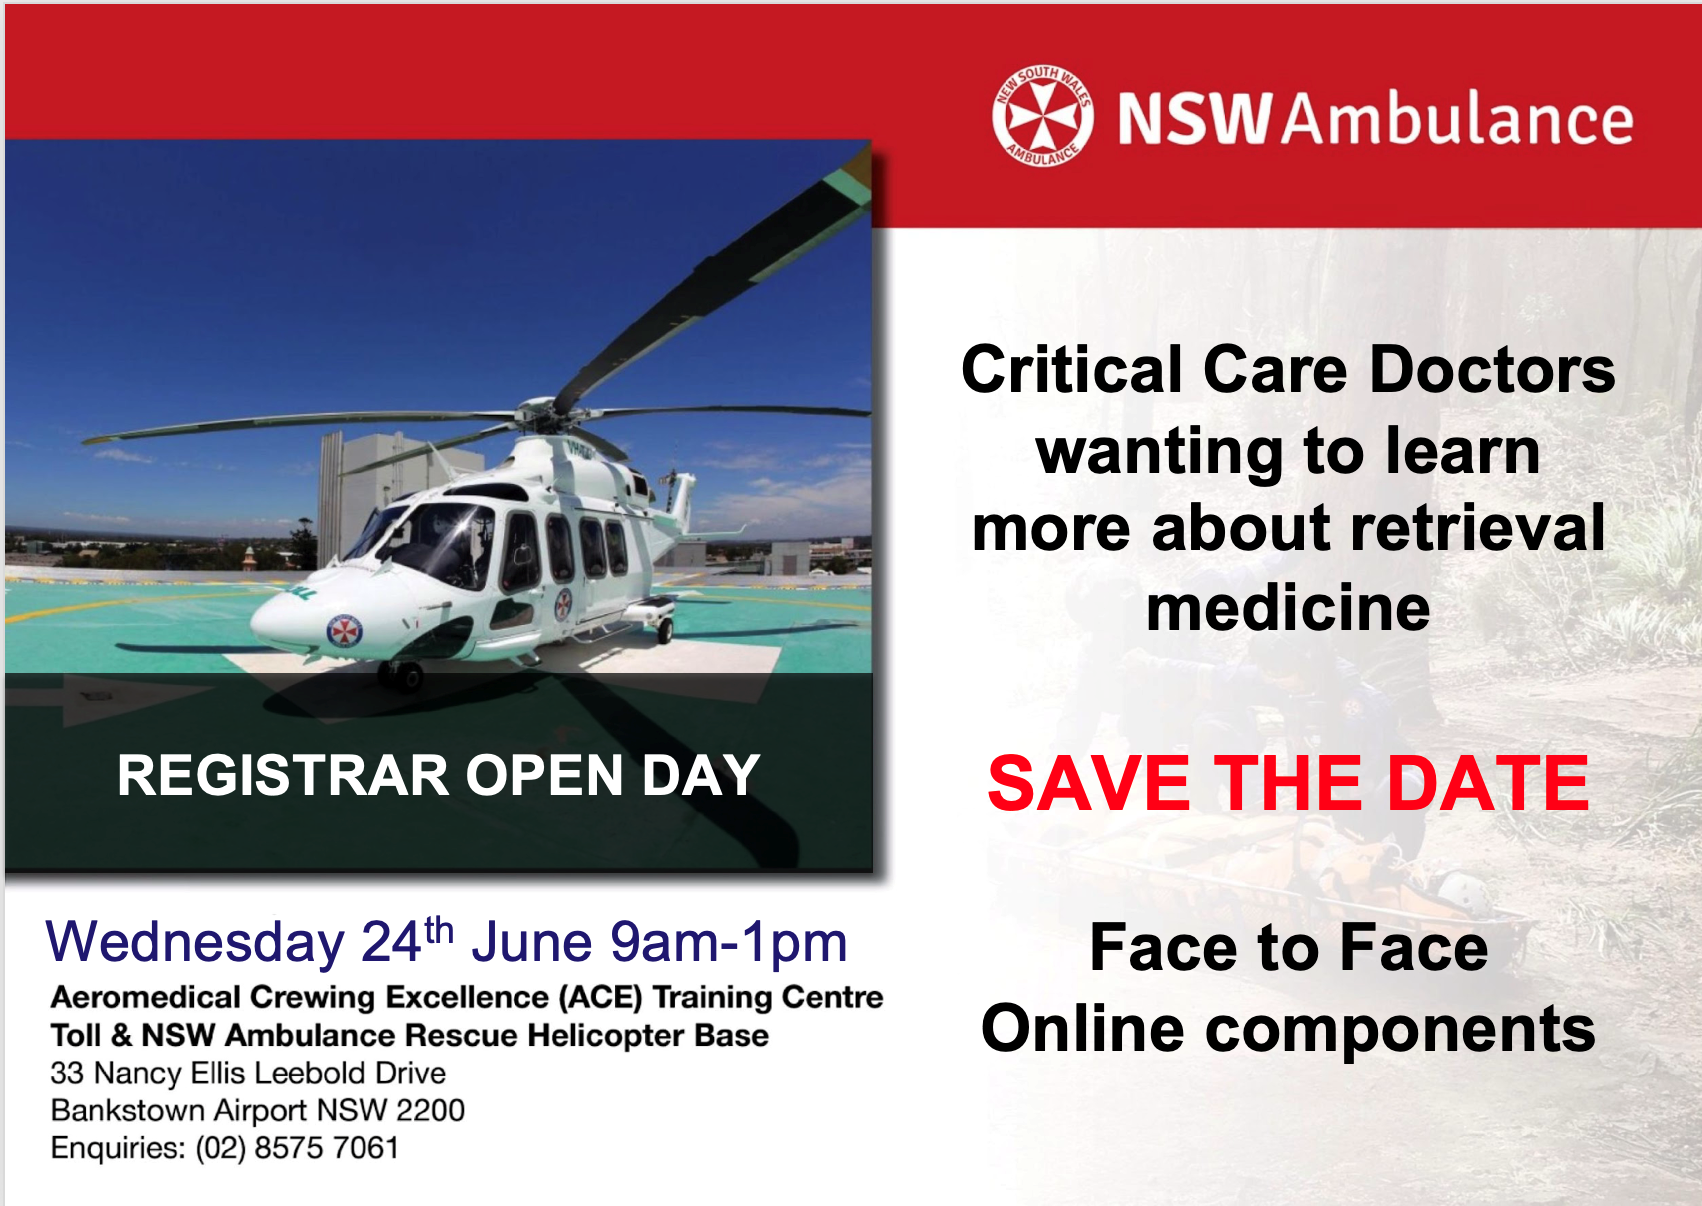
NSW Ambulance is hosting a Retrieval Registrar Open Day at Bankstown, designed for critical care doctors who want to better understand the role, the operational environment, and the pathway into retrieval medicine.
This event provides a practical, realistic insight into what it means to work as a retrieval registrar within a high-performing aeromedical system.
REGISTRATIONS WILL OPEN SOON
What to expect
The open day will include:
An overview of retrieval medicine in New South Wales
A clear explanation of the retrieval registrar role, including clinical and operational responsibilities
Case-based discussion drawn from real retrieval missions
Hands-on stations focusing on key procedural and operational skills
Opportunities to meet and speak with current retrieval consultants, registrars, and critical care paramedics
Practical guidance on preparing for a future retrieval registrar application
This is an interactive, small-group event designed to give attendees a genuine sense of the work, the team, and the expectations of the role. A portion of the event will be hosted online for those who cannot attend in person.
Who should attend
This event is intended for senior critical care registrars in NSW, including those working in:
Emergency Medicine
Intensive Care
Anaesthesia
(This is exclusively for registrars other opportunities will be made available for paramedics, nurses and students to engage with NSW Ambulance Aeromedical Retrieval services)
Sydney HEMS acknowledges the Australian Aboriginal and Torres Strait Islander peoples as the first inhabitants of the nation and the traditional custodians of the lands where we live, learn and work.


 AiR Videos