About the Hamilton we use:
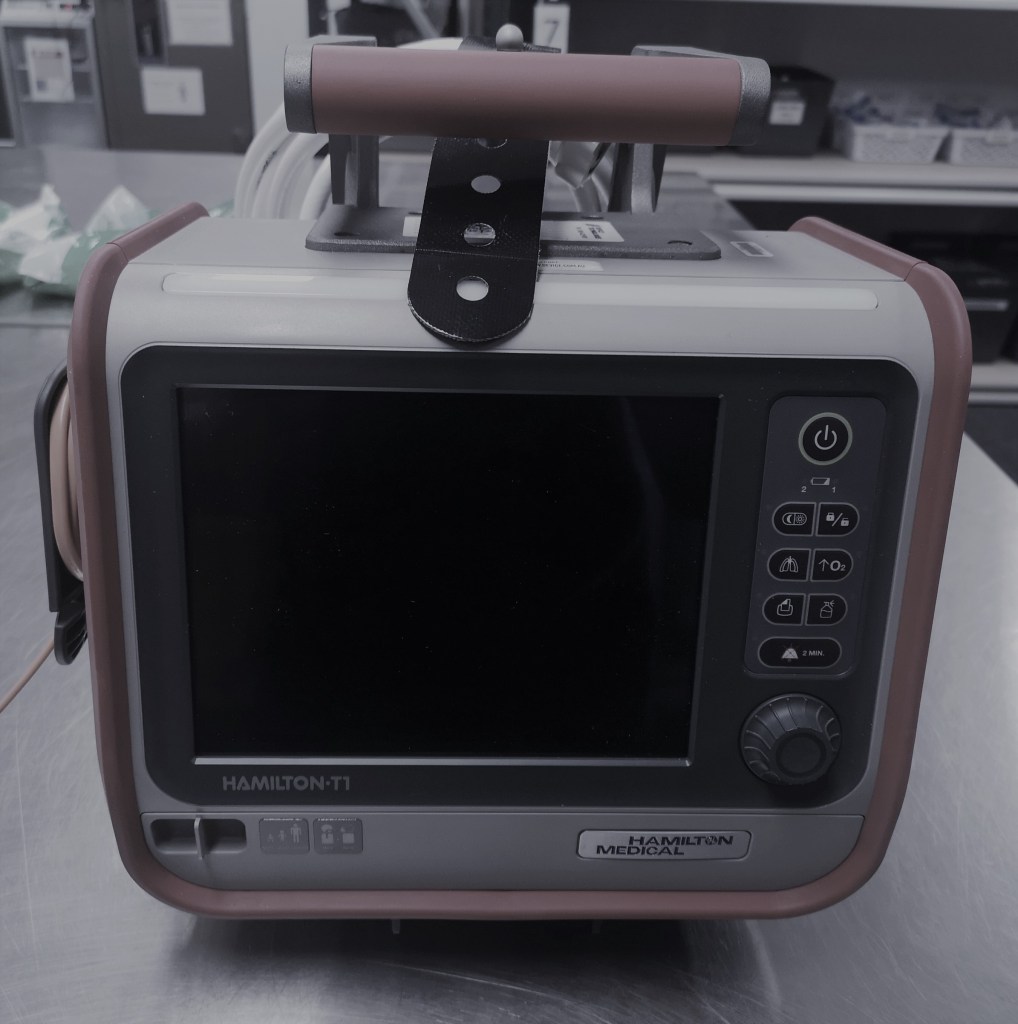
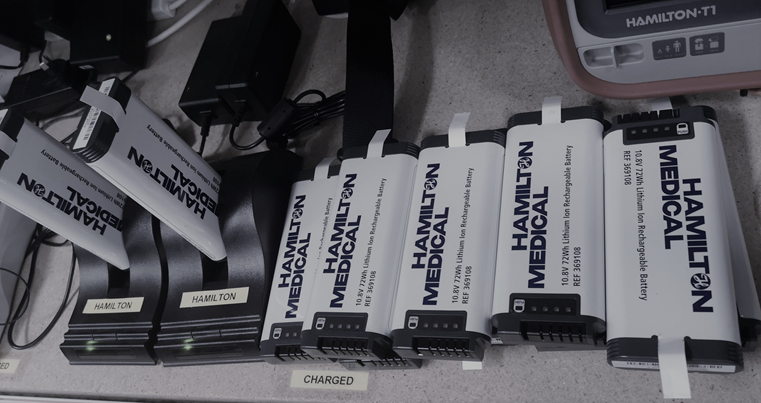
The Hamilton T1: A 7kg transport ventilator with a battery life up to 9 hours, this ventilator allows us to deliver between 2ml and 2000ml of tidal volume, making it suitable for all patients from neonates to adults and bariatric patients. There is the option to set PEEP between 0 to 35cmH2O and an inspiratory flow rate up to 260Lpm. The Hamilton T1 is also able to deliver intelligent NIV with reduced leak and a specific target Fi02. The Fi02 setting range is from 21% to 100% and there is also an integrated nebuliser and high flow options. The circuits are fully disposable, lightweight and easy to carry, and significantly for us- the ventilator can run independent of compressed air if needed.
Most common Vent settings we use and how to set them up:
(S)-CMV: Synchronised Continuous Mandatory Ventilation mode- a pressure- regulated volume controlled mode
SIMV: Synchronized intermittent mandatory ventilation- a volume-controlled mode.
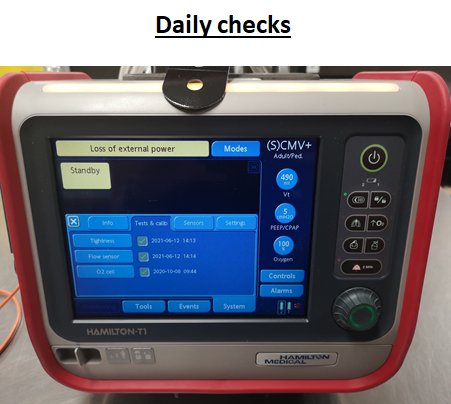
- Power on.
- Complete daily pre-op checks.
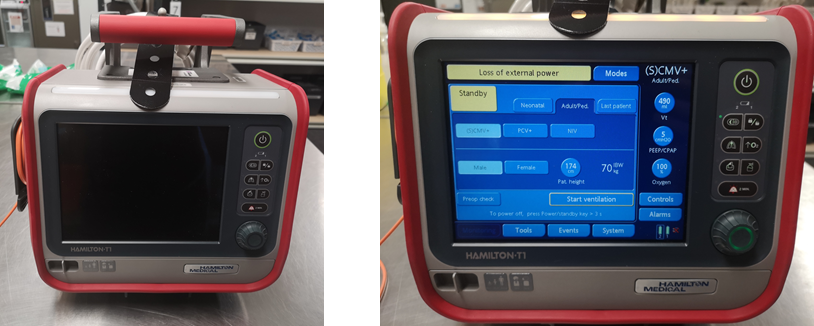
- Select mode- S-CMV.
- Select patient adult/ped, height and gender.
- Select Controls tab- adjust RR, I:E, Vt, PEEP and Fi02.
- Press the white cross and return to home screen. -Select the Alarms tab to adjust alarms limits as clinically appropriate.
At Sydney HEMS we tend to default start with a Vt of 6-8ml/kg and a PEEP of 5. The I:E will be 1:2. These are then adjusted to create a patient specific ventilation strategy depending on clinical picture.
NIV: Non-invasive ventilation- CPAP or BPAP.
Power on.
Complete daily pre-op checks.
Select mode- NIV or ST-NIV.
Select patient adult/ped, height and gender.
Open Controls tab
CPAP: Set PEEP to desired level (EPAP)
BPAP: Set PEEP (EPAP) to desired level. Set pInsp to additional pressure required to generate IPAP
On NIV mode set Psupport to additional pressure required to make desired IPAP ie: IPAP – PEEP
On NIV-ST mode set Pinsp to additional pressure required to make desired IPAP ie: IPAP – PEEP
Select the Alarms tab to adjust alarm limits.
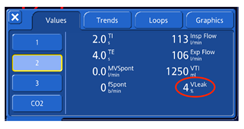
Check for % leak under the values tab- this will help inform how much oxygen you’re likely to need with you for the journey.
Setting the pressures for NIV: Don’t forget to create BiPAP, your pInsp is additive to your PEEP.

Alarms:
What do the alarm patterns mean?
High priority- Red light and 5 beep repeated.
This refers to patient factors such as apnoea, minute ventilation or a Pmax problem, a Circuit disconnection or obstruction, or an oxygen fail.
Medium priority- Yellow light and 3 beeps repeated.
This is highlighting a pressure limitation, Vt or PEEP issue.
Low priority- Yellow light and 2 beeps only.
External power loss.
Physiologically what do the alarms mean?
Minute ventilation: This refers to the amount of gas delivered to the lungs in 1 minute. MVe is usually around 6L and calculated Tidal volume x respiratory rate. If the High MVe alarm is sounding- this is to say the lungs are receiving more than this and the patient is essentially being hyperventilated. Reducing TV or RR may optimise this. However, don’t forget this is just an equation and doesn’t factor in clinical picture and your clinical goal of ventilating in a certain way. Low minute ventilation usually refers to a leak or disconnection in the circuit.
Whilst in S-CMV mode, the ventilation is pressure-regulated and volume-controlled meaning the ventilator is constantly assessing the pressure required to generate the set tidal volume and there can be wide swings in the volume delivered.
pMAX: This is the set maximum pressure limit on the ventilator. On our Hamiltons this will default to **35** and will alarm at pMax-10. If the alarm is sounding- consider what target pMax is appropriate for this patient and if anything may have happened driving a sudden increase in pressure ie. Secretions/occlusion/coughing. If all is clinically well and you just want to adjust the alarm limits, this can be adjusted in the Alarms tab.
fTotal: The total delivered breaths plus patient initiated breaths.
PEEP alarm: If the PEEP is high this suggests a problem with the elasticity of the lungs such as pneumothorax, tension pneumothorax, contusion or pulmonary edema. ARDS, and auto-PEEP caused by “breath stacking can also cause this. Clinically re-assess the patient, consider lung ultrasound and if autoPEEP seems the problem, consider disconnecting and manual release of pressure.
Low/High Vt: The Hamilton auto-calculates Vt according to patient height and ideal body weight at 6ml/kg. High tidal volumes can be associated with barotrauma but if the alarm is saying that a higher volume is being delivered than you requested, consider that this may be patient driven. If you don’t want them breathing spontaneously, consider deeper sedation or paralysis. If Vt is low, consider why. The outcome of a consistent low Vt will be atelectasis and you may need to consider setting a higher PEEP.
Other useful things to know:
Oxygen consumption: In the system tab, the Hamilton T1 will tell you your current oxygen consumption in l/min. This particularly useful in long transfers, patients with high oxygen consumption or patients on NIV where you may need to plan ahead with how much is available or if you need to restock en route.
Auto adjusting alarm limits: In the Alarms tab, below the adjustable bars, there is a button for Auto. This will automatically set all alarm limits around the current monitoring parameter values except Vt and apnea.
The oxygen enrichment key: This is the upwards arrow with 02 written on it and will deliver 100% oxygen for 2 minutes. Pressing it a second time will cancel it. This is useful to oxygenate prior to a disconnection to suction etc.
I:E ratio: Expressed in seconds, this is the amount of time spent in inspiration compared to exhalation during the total respiratory cycle. Example: RR is 12, total cycle time is 5 seconds (60/12 = 5 seconds). If I-time set at 1 second, then 1 second is spent in inspiration, 4 seconds are available for exhalation.
What is ASV? Adaptive Support Ventilation: This is a tool on this ventilator whereby the operator set Mve is maintained but the machine establishes an optimal tidal volume and RR combination to achieve it. In passive patients, this is a volume targeted pressure controlled mode with automatic adjustment of pInsp, RR and I:E ratio. The ventilator calculates MV from ideal body weight at 100ml/kg/min. Fi02 and PEEP still need to be manually entered. There is an argument that ASV is less useful in pre-hospital/retrieval mode and better used in the ICU when patients are starting to wean from the vent.
The inspiratory hold manoeuvre: The inspiratory hold allows us to determine the plateau pressure as a marker of the alveolar pressure in the lungs. This allows us to differentiate the intrinsic PEEP of the lungs and assess the resistance of the airways. To do an inspiratory hold on a T1- The patient needs to be paralysed first. Press and hold the button with the lungs on it to trigger a breath hold, hold it down for 10 seconds (or until you see flow stop on the screen). Press the two arrows facing each other on the top left of the graph screen to freeze the graph. You can then use the wheel to move the cursor backwards and forwards to find a reasonable plateau pressure.

Patient specific ventilation: Key settings we can adjust
ARDS (can consider in trauma)
“Lung protective strategies”:
Controlled oxygen exposure
Low tidal volumes 4-6 ml/kg
Adequate PEEP (rough guide start at weight/10)
Peak pressure < 30 cm H2O (<28cm H2O driving pressure)
Asthma:
Minimise minute ventilation (reduce RR, preserving Vt to maintain MV)
Maximise time for expiration (I:E ration approaching 1:5)
Permissive hypercapnia
Pressures are reflective of bronchial spasm (therefore in acute episodes, ignore pressure alarms and focus on Vt)
Volume control mode beneficial as improving pathophysiology with treatment will prevent barotrauma reduced bronchospasm.
COPD:
“Normal” TV (6-8ml/kg)
“Normal PEEP” (5-10cm H2O)
Tend towards Longer I:E ratio’s
Peak pressure <30cm H2O (limiting potential for bullae rupture and pneumothorax)
For more information on how best to use the Hamilton and for increasing your familiarity with it, take time to practice on the machines, explore Hamilton-Medicals online learning modules and use any down time on base to run through them with any of our expert anesthetists on base.
With thanks to Dr Satya Varnasi and Dr David Ransley for their contributions to this article.