
To make your own escharotomy training model, you will need:
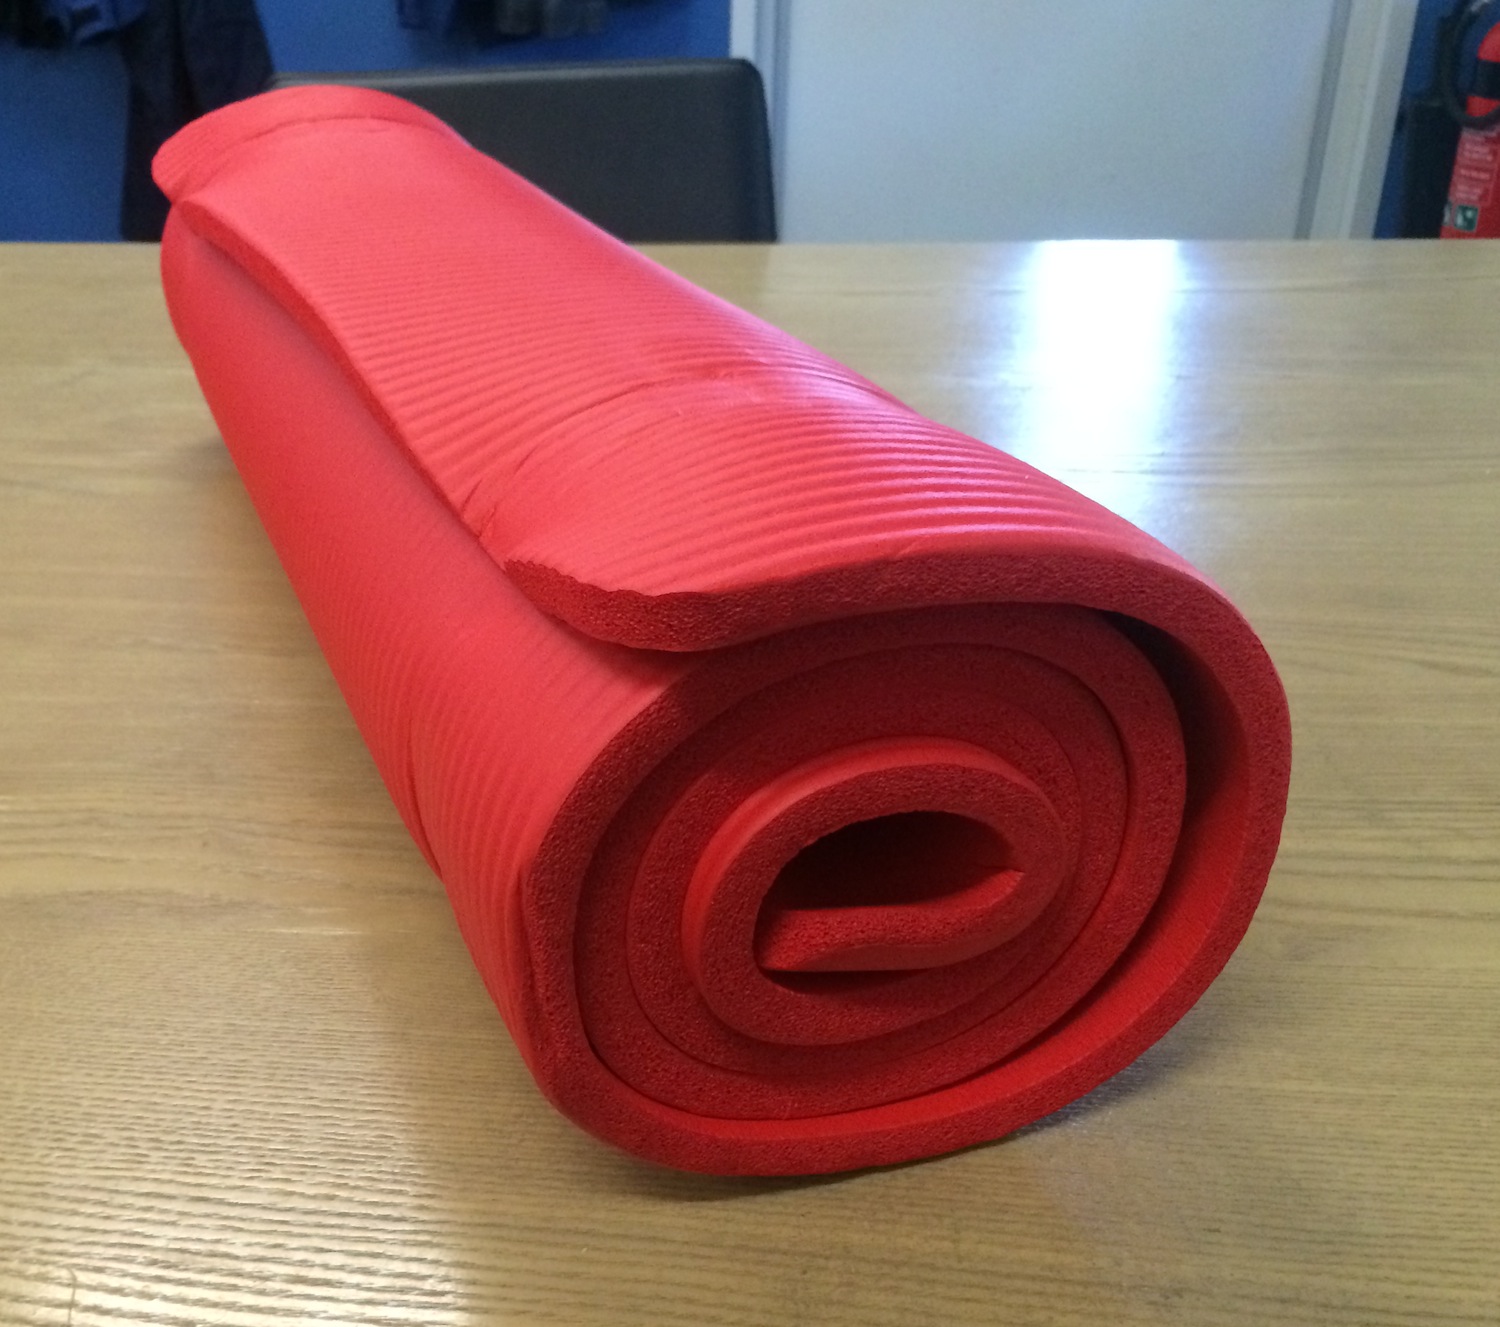
1. A thick foam yoga mat (red or pink). This one was $10 from K-Mart.
2. A roll of Cling Film (Glad Wrap). 
3. A roll of thin packing foam — the sort of stuff your new TV comes wrapped in.

4. Some elastic bands.

5. Around 4-5 rolls of white Cloth Tape (similar to Gaffer tape but much cheaper).

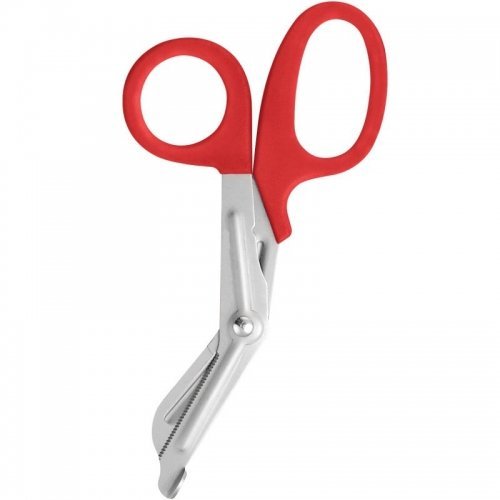
6. A pair of trauma shears
7. A resuscitation mannequin.

Assembly Instructions
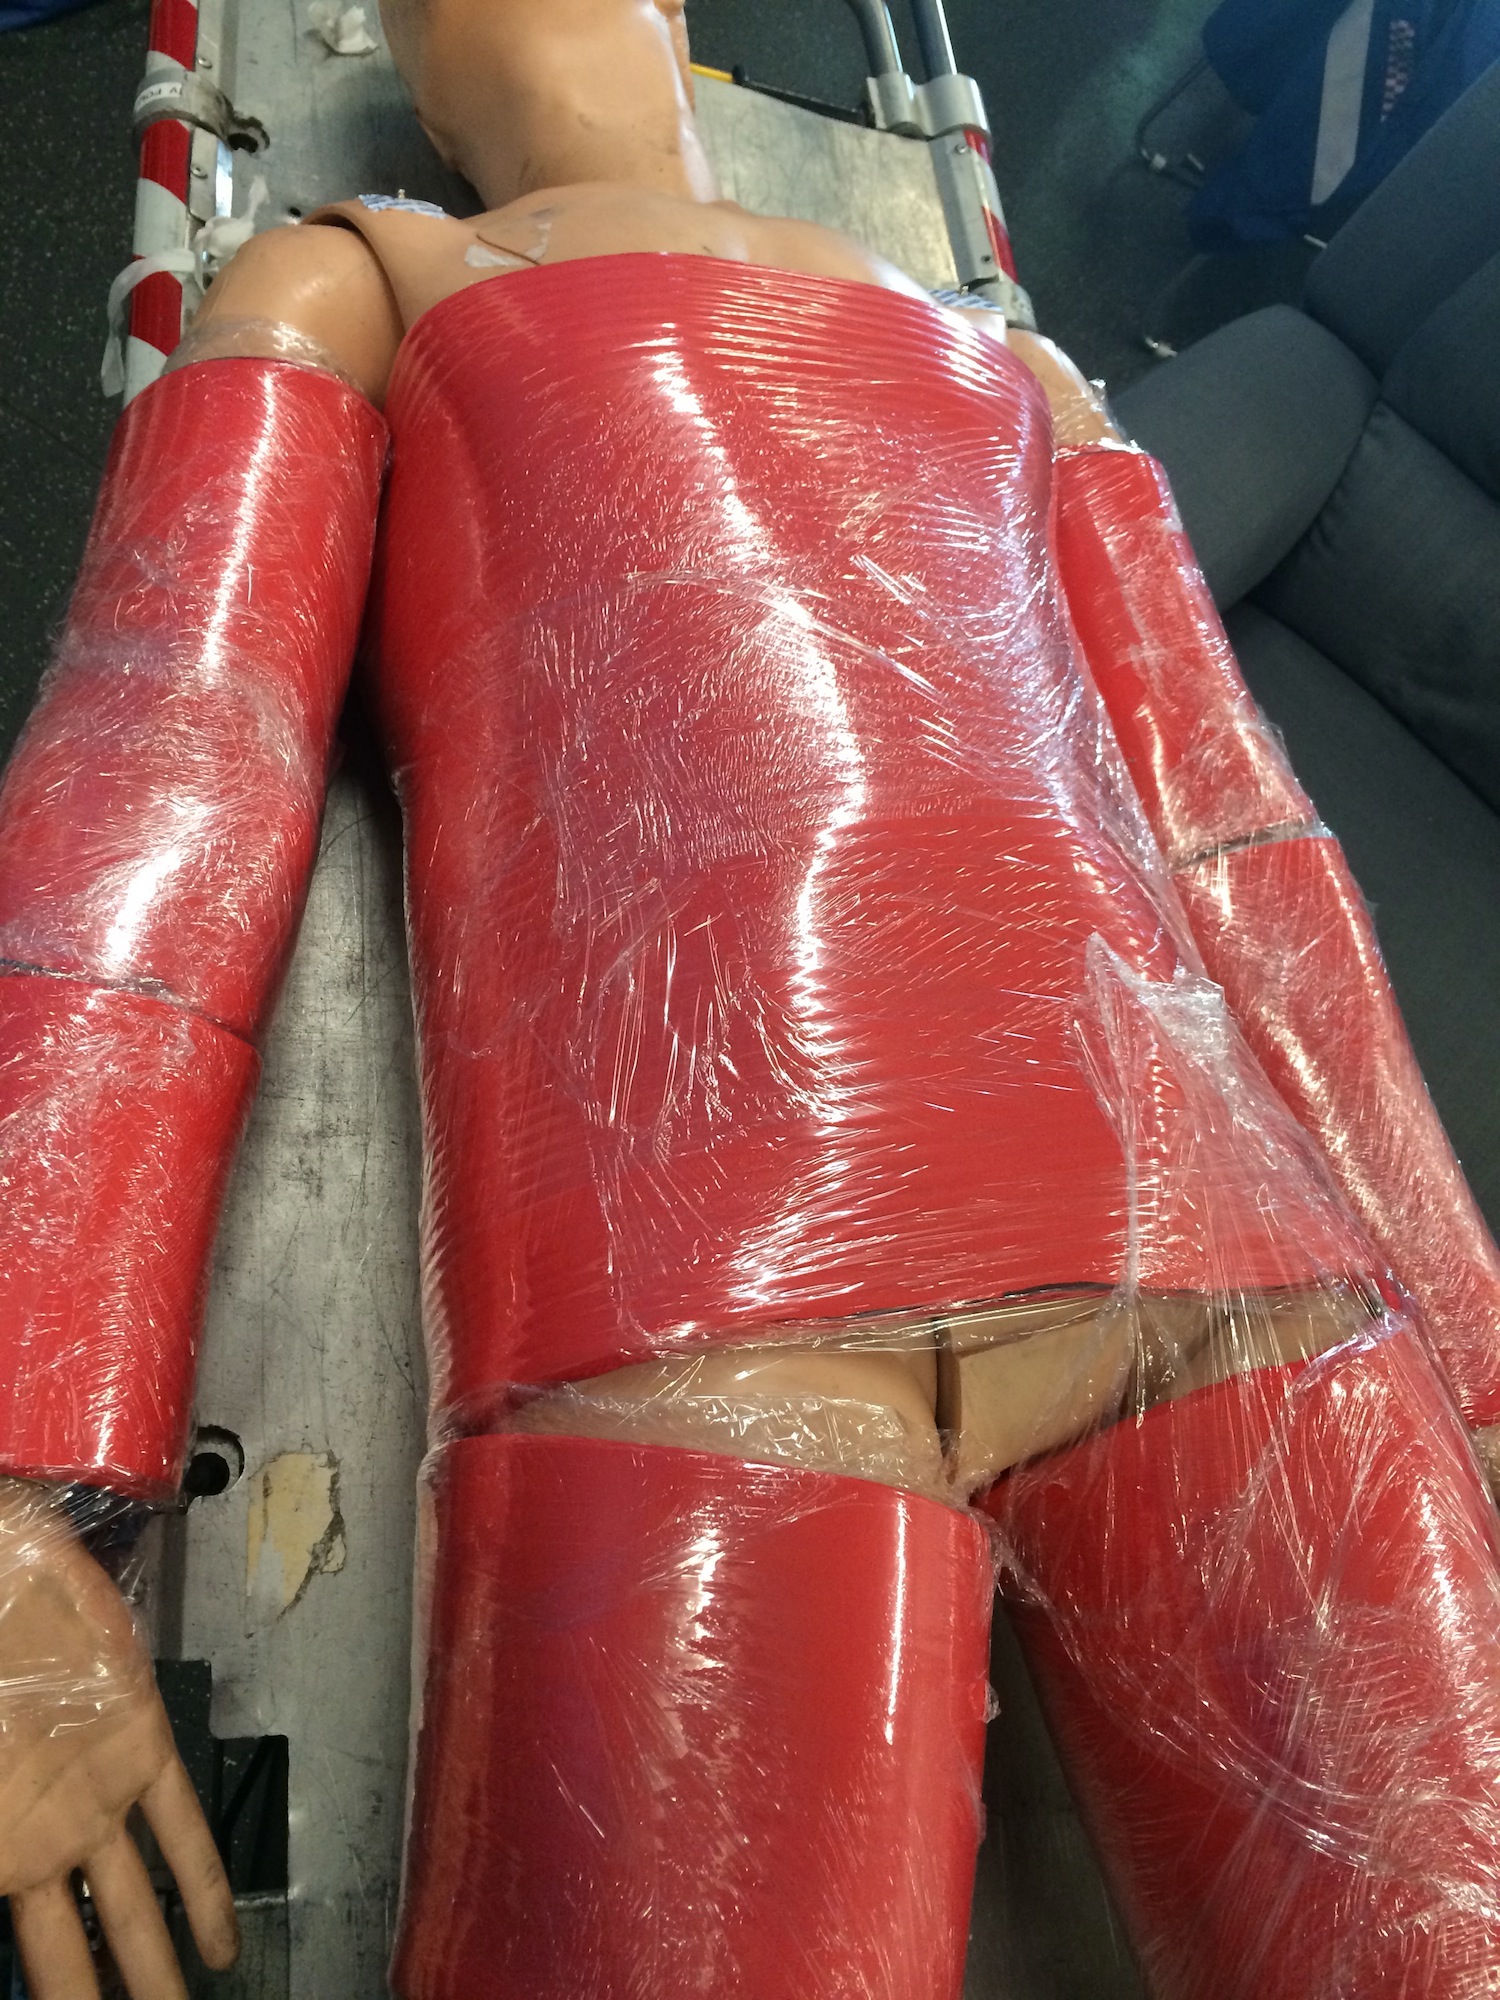
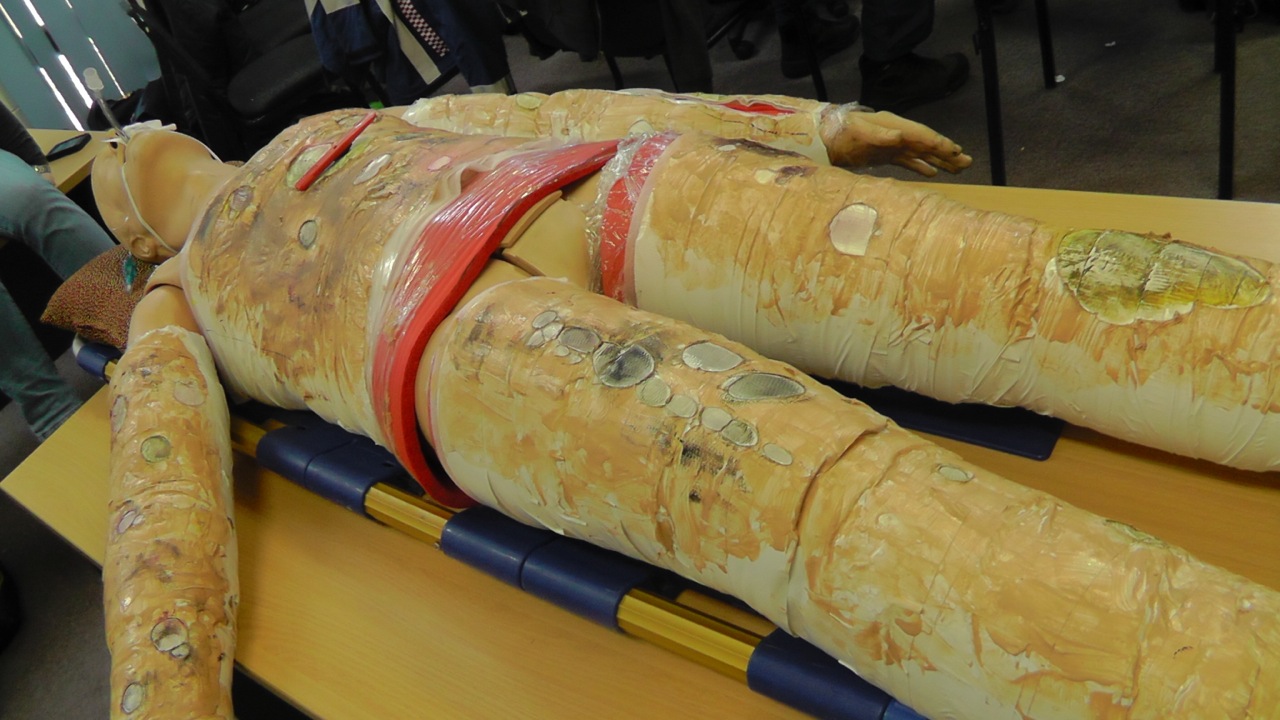
1. Cut the yoga mat into sections and wrap circumferentially around the torso and limbs of your mannequin. Wrap cling film firmly over the top to secure it in place. This red/pink layer represents the viable tissue beneath the eschar — i.e. the end-point of the escharotomy procedure.

2. Next, simulate subcutaneous tissue by adding 2-3 circumferential layers of packing foam to the torso and limbs. Elastic bands can be applied to the limbs to simulate constrictor bands.
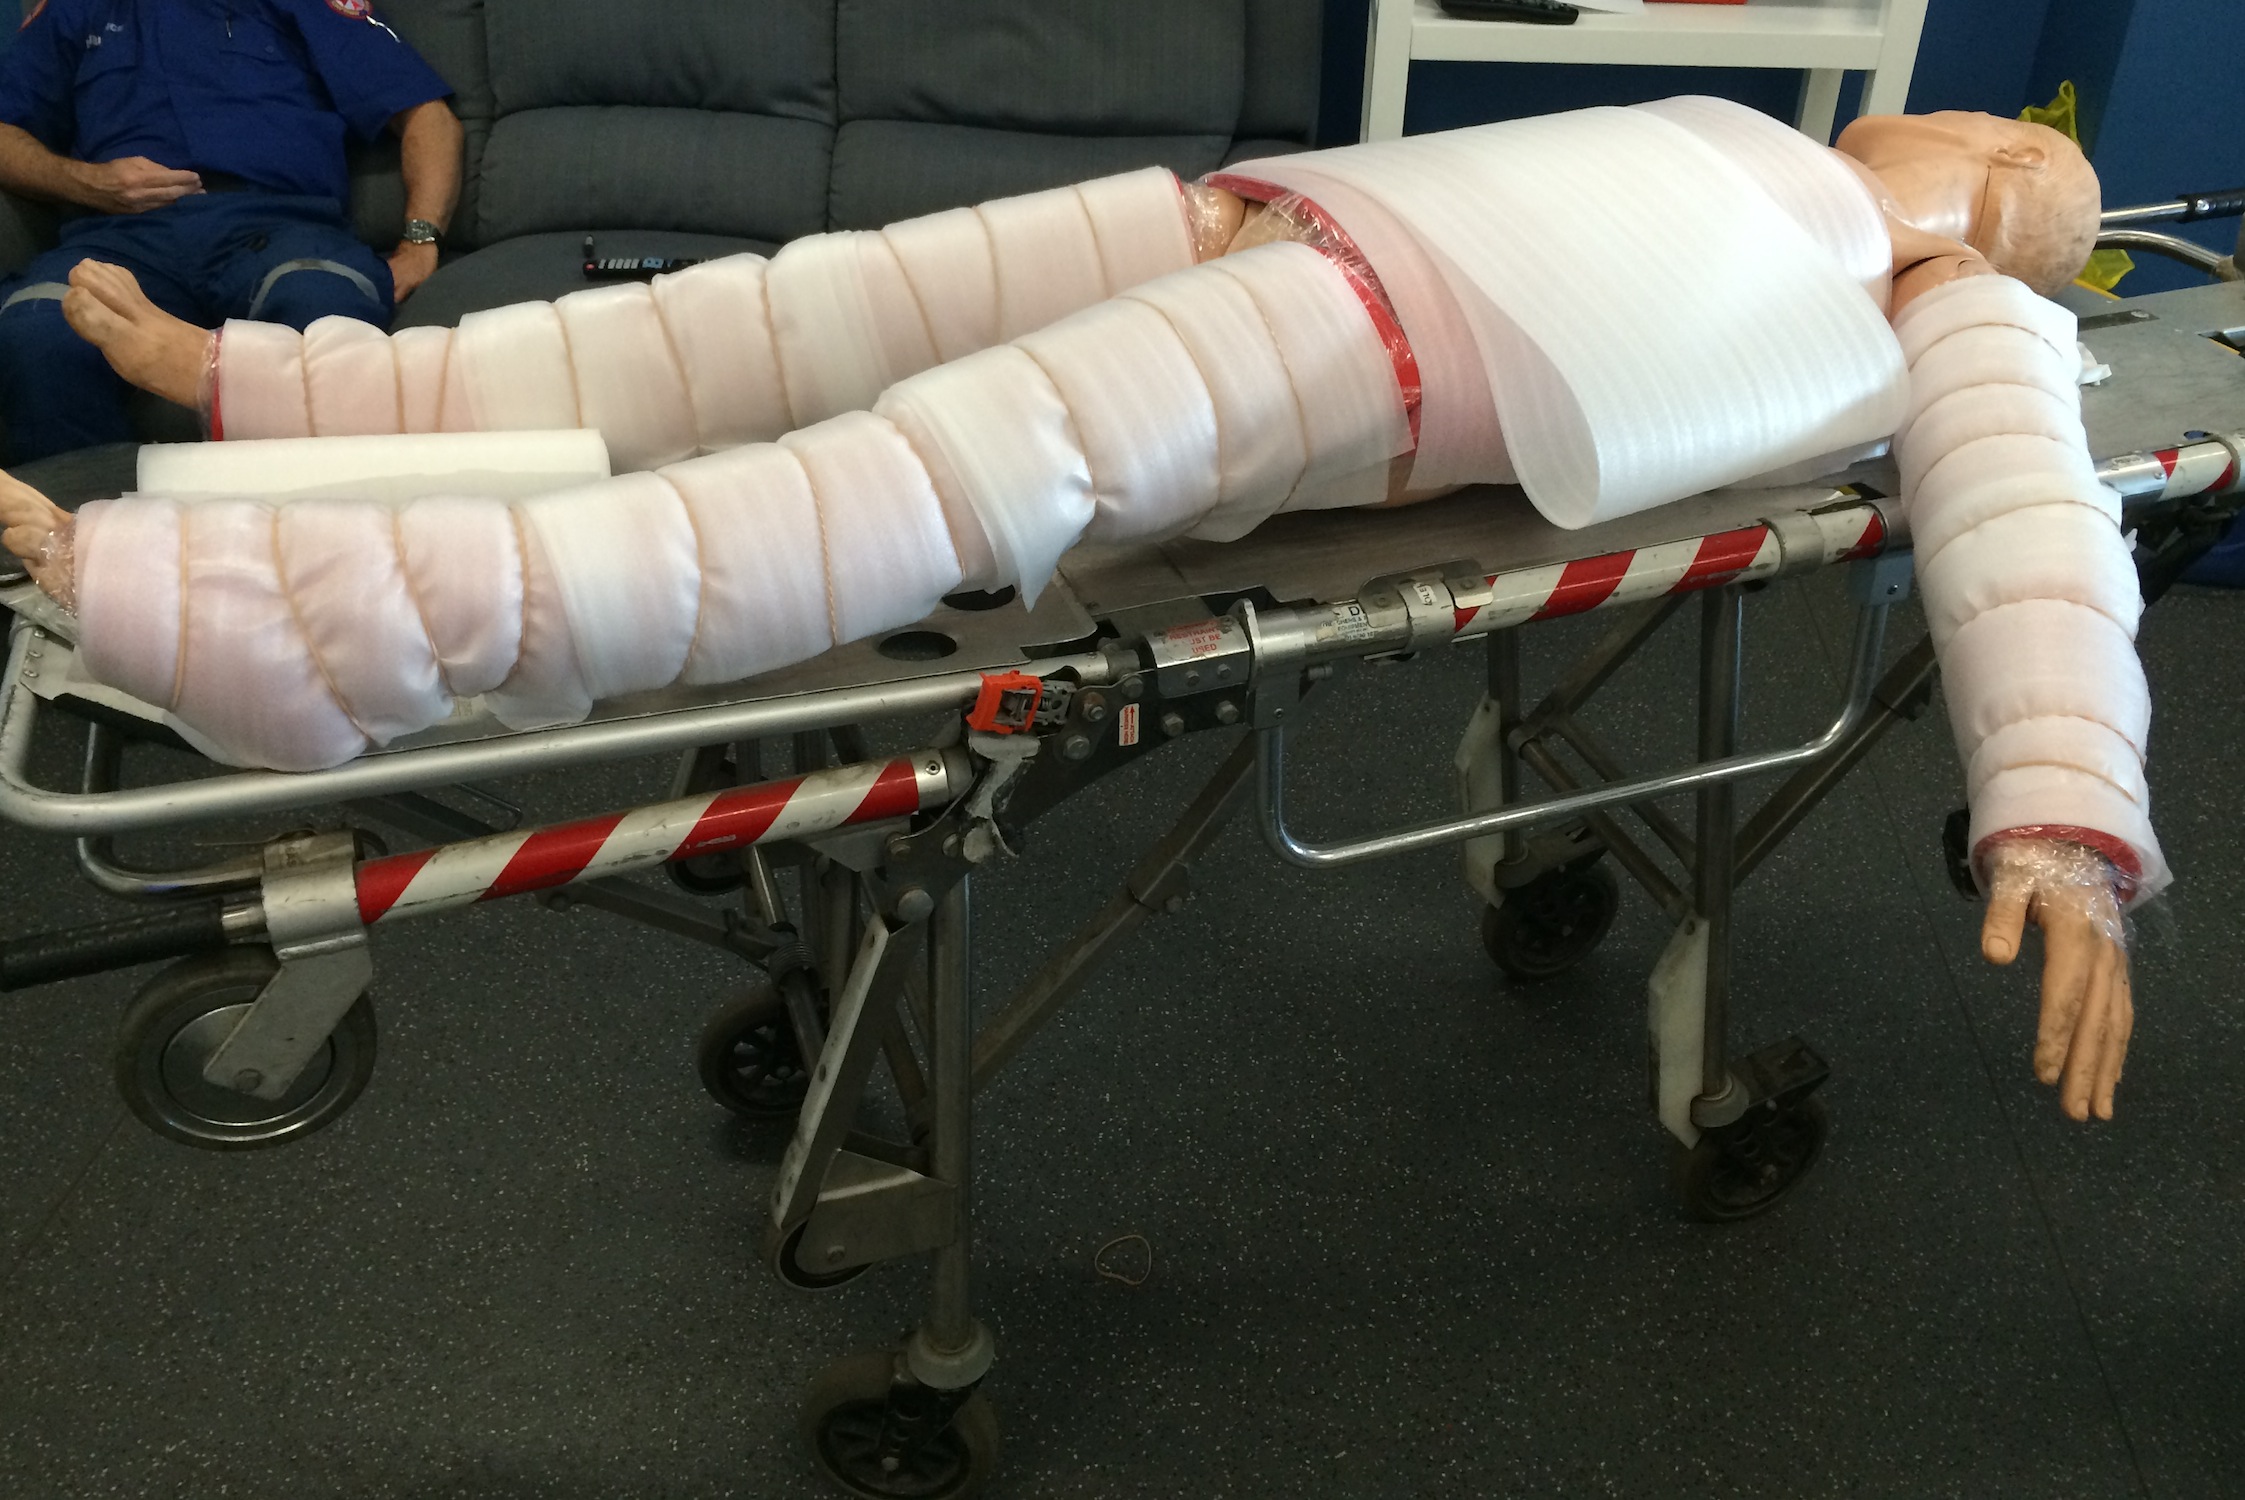
3. Now for the most important part! Wrap white cloth tape circumferentially around the limbs and torso to simulate eschar.

The tighter you can apply this layer, the better! The springy foam layers are now compressed by the restrictive tape and will spring apart when incised.


4. Your escharotomy man is now ready to use! For additional realism you can apply make-up or charcoal to simulate charring, or even lightly burn the top layer to produce an unpleasant burned smell.
5. The mannequin can now be used for simulation or practical skills teaching.
Tutees can be instructed to:
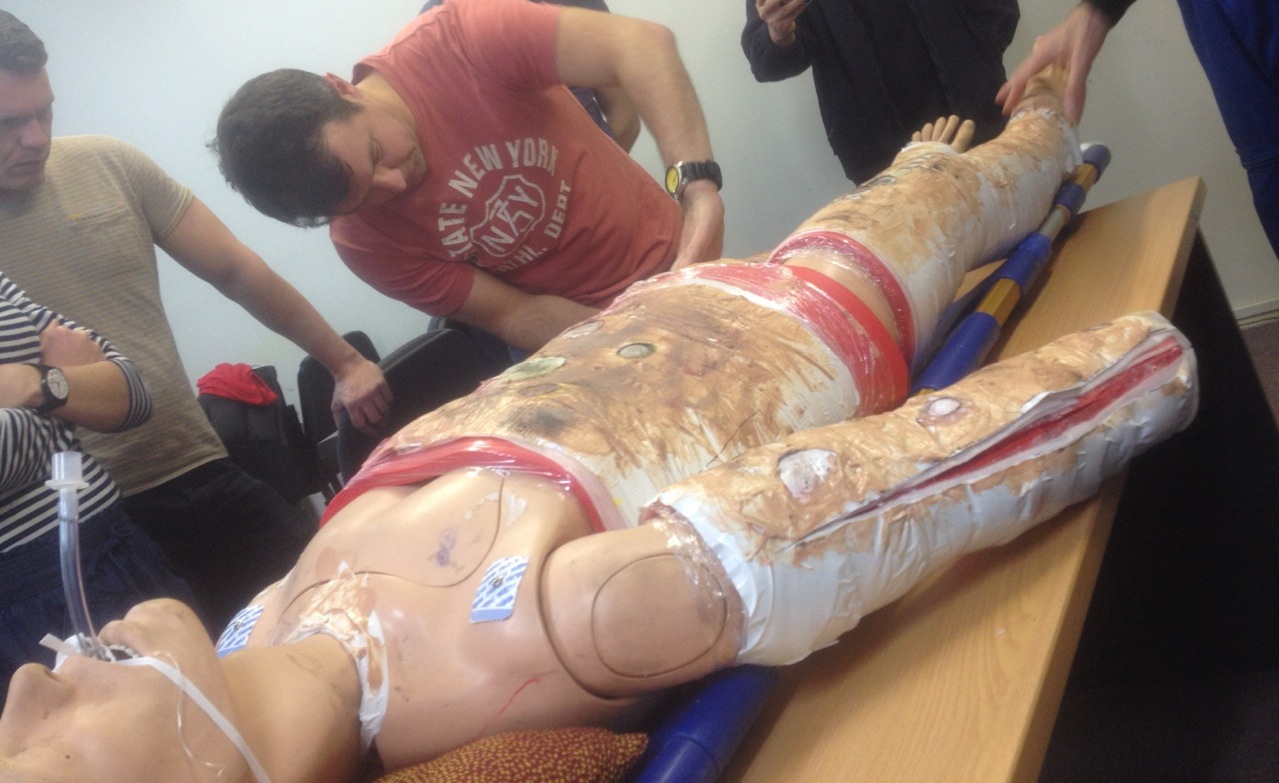
- Draw their proposed escharotomy lines on the mannequin with a marker pen (e.g. Sharpie) to assess knowledge of correct escharotomy sites.
- Cut with a scalpel down to viable tissue (the red / pink layer). The incision should spring open once the eschar is divided.
- Run their fingers along the length of the wound to detect and individually divide any constrictor bands.
- Dress the wounds (e.g. with cling film) post escharotomy.
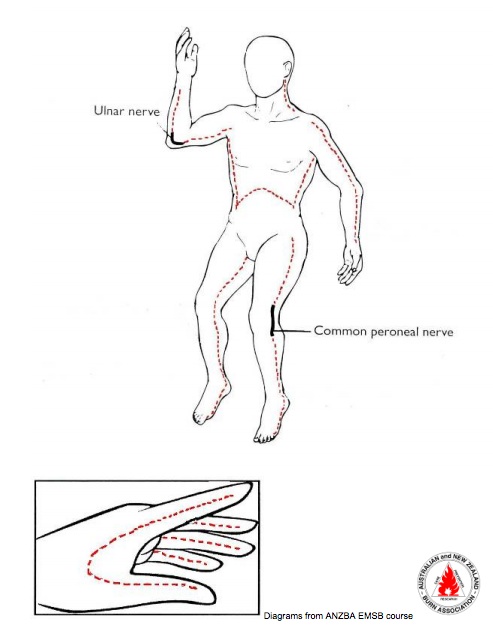
Escharotomy Incision Sites
This model was trialled for the first time at our Sydney HEMS team induction and performed very well!

Of course, in real life the procedure is a little bloodier…
If anybody has a clever way to simulate active bleeding without completely destroying the mannequin then please let me know!
Escharotomy Man designed by Dr Ed Burns. Thanks to Dr Fergal McCourt for the escharotomy video.
Further Reading


Ed “Burns” escharotomy trainer? Brilliant!
Pingback: Escharotomy Man 2.0 | Greater Sydney Area HEMS
Pingback: The LITFL Review 151 - LITFL
Pingback: DIY skills trainers